| Availability: |
In stock
(8)
|
Step 1: Preparation for Dye Stain
Before applying stain, all raw wood projects require preparation sanding. If you skip this critical step, your finish may fail.
Preparation for Raw Wood Projects
See our video: How to Prep Sand Raw Wood
- Sand open-grain wood (e.g., oak, ash, mahogany, parawood) with 120-grit sandpaper, followed by 150-grit, then 180-grit.
- Sand closed-grain wood (e.g., cherry, pine, maple, birch, alder) with 150-grit sandpaper followed by 220-grit.
- Remove dust with a vacuum, compressed air, an oil-free tack cloth or a water-dampened rag.
- Do not over-sand with fine-grit sandpapers; this will close and seal the wood grain, preventing ideal color absorption.
- Do NOT use steel wool with water-based finishes; the particles will get trapped in the finish and rust.
Reducing Grain Raise on Raw Wood
To reduce grain raise, dampen the wood with water after prep sanding. Let dry completely, then lightly sand with fine-grade (220-320) foam sanding pad.
Step 2: How To Apply General Finishes Dye Stain
General Finishes Dye Stain Application Steps
- Watch Dye Stain product overview video here
- Work in a well-ventilated area.
- Stir stain thoroughly to reincorporate solids that have settled to the bottom of the can before and throughout the application process.
- Test your entire finishing schedule first. Dye Stain is like ink, and once you apply it, there is no going back as it will sink like ink into the pores of the wood. Stain color can be affected by variances in wood, room lighting, and deepened with the application of a topcoat. To lighten dilute with water-based GF Dye Stain Reducer.
- Increase open time, if needed, with up to 10-15% General Finishes Extender, if allowed by local regulations. Extender will improve flow and leveling and increase open time, which is helpful in dry climates. California Residents: Adding more than 2% of GF Extender will make the product non-compliant per SCAQMD Regulations. GF assumes no liability for the improper use of these products.
- An initial coat of General Finishes Pre-Stain Conditioner Natural can improve color uniformity over difficult-to-stain wood species such as pine. However, it will limit color absorption and reduce blotchiness, so a darker stain may be required to get the depth of color you want.
- NOTES on softwoods such as Pine, Pawlonia, or Poplar, the use of Pre-Stain Conditioner will reduce blotchiness but not remove it entirely. You may want to consider using GF's Wood Stain instead. And also regarding softwoods, an alternative technique instead of using Pre-Stain Conditioner is to add 10% High Performance to the Dye Stain. This will add enough solids to even out the finish and will lock in the color to reduce color pull when you apply the first clear coat.
- Divide your project into manageable sections: top, side, drawer, door, table seam.
- Apply 1-2 coats. A second coat will create a deeper, richer color. Do not apply more than 2 coats.
- Hand application: Working quickly, apply a LIBERAL amount of dye stain using a synthetic bristle brush, foam brush, pad applicator, staining pad or microfiber roller with smooth, even strokes. Use a light touch with the brush - just flood the surface without dragging the applicator. Dye Stain penetrates the surface fast; if not enough stain is used, the surface may dry too quickly, causing an uneven appearance. Stain one section at a time. Immediately wipe off excess evenly with the grain using a cloth or high quality paper towel before starting the next section.
- Spray application: Before spraying, strain topcoat through a fine-mesh filter. Spray wet films at 3-5-mil thickness. HVLP: 1.1mm-1.3mm spray tip, medium air cap. Verify tip sizes with your equipment supplier. See our general guide for spray tip sizes. Wear a full filter respirator (NIOSH/MSHA approved) and work in a ventilated space. Keep your gun at a 90° angle, 6-8" from the surface. On large, flat areas, use wet, even patterns 6-8" wide. For narrow surfaces, reduce the fan pattern to 2-3" wide to reduce overspray. Overlap each pass of stain 50% for even coverage. If coverage is even, there is no need to wipe. If you have issues with uneven coverage, wipe back the excess with an absorbent cloth.
- Dry 2+ hours between coats in ideal conditions: 70°F/20°C; 50-70% humidity. Inadequate dry time is one of the top reasons for finish failure. If in doubt, wait longer. Increase dry time if humidity is over 80%
- Increase dry time if two coats are used.
- Increase dry time if humidity is over 80%
- o accelerate drying in humid conditions, add General Finishes Accelerator and work in a space with good ventilation and air movement. If you decide to re-coat before the recommended time, test dryness.
- Allow final coat to dry 2-4 hours in ideal conditions: 50% humidity, 70°F/20°C.
- Finish with 3 coats of General Finishes topcoat.
- If you will be using GF Conversion Varnish as a topcoat, seal first with either GF Sanding Sealer or Clear Poly before spraying Conversion Varnish. This will minimize the reaction from the dye and catalyst.
Warning: Do not use water-based products with Linseed Oils or Danish Oils.
Step 3: Topcoat Over Water-Based Stain
Always seal General Finishes Water Based Wood Stain, General Finishes Dye Stain and General Finishes Enduro Ready-To-Match (RTM) Water Based Wood Stain with 3 coats of topcoat. More coats will not improve durability.
Grain Raise
After the first coat of topcoat has dried, you can knock down grain raise by lightly sanding with a 220 sanding pad. Watch Grain Raise video here.
Recommended Water-Based Topcoats
General Finishes High Performance can be applied by hand or sprayed; General Finishes Enduro Clear Poly is spray-only. Both topcoats dry clear and are great for high-use surfaces, such as kitchen cabinets and tabletops. General Finishes Flat Out Flat is our flattest topcoat, suitable for projects that do not receive major wear.
Recommended Oil-Based Topcoats
When sealing with General Finishes oil-based topcoats, General Finishes Arm-R-Seal and General Finishes Gel Topcoat, let water-based stain dry a minimum of 24 hours first. Oil-based topcoats amber increasingly over time.
Toning with Stains
Toning is the process of adding colorant (tinting), either dye or pigmented stain into a top coat and then applying over an entire piece in order to subtly deepen the color. All of GF water-based stains can be used: Stock base colors of RTM stains, Water-Based Wood Stains or Dye stains. If you are new to toning, we recommend starting with GF Dyes Stains, which can be easier to use as they only contain dyes and no pigments.
All of General Finishes water-based topcoats with the exception of Conversion Vanish can be tinted to create lightly colored finishes for toning. It is YOUR RESPONSIBILITY TO TEST to your satisfaction before application to your entire project.
There are limits anytime you add pigments or dyes to water-based topcoats. Toning should always be done in small increments to achieve the desired color. If you are starting with a light honey tone door and you want to create an Espresso color this will take multiple coats of color including base coat of stain followed by several toning coats. It is impossible to achieve a radical change in color in coat application.
A good rule to follow when tinting is starting with a minimal amount of stain or dye, 5-10% by volume. Some colors work better than others. Normally 1-2 ounces or stain per quart of clear topcoat is sufficient to create a toner. Always test color first and strain material through a fine mesh filter to remove any undissolved particle of pigment. Once you have achieved the desired color tone apply a clear topcoat to lock in the color.
Some tinting recommendations are:
- Do not exceed 13 ounces per gallon. Excess amounts of colorant can create surface defects and decrease the viscosity (causing drips, sag, etc.).
- Tinting a product black only requires about 6 to 8 ounces (based on strength of colorant).
Creative Finishing Techniques Using Dye Stain
Custom Colors using Dye Stain Reducer
Create custom color Dye Stains by adding General Finishes Dye Stain Reducer in 10% increments until you achieve the color you want. It is not possible to mix too much of our Dye Stain or Reducer together. Do NOT Use Water to Lighten General Finishes Dye Stains. Dye Stain Reducer has ingredients that help keep color molecules dispersed evenly in the can.
Layering Dye Stain
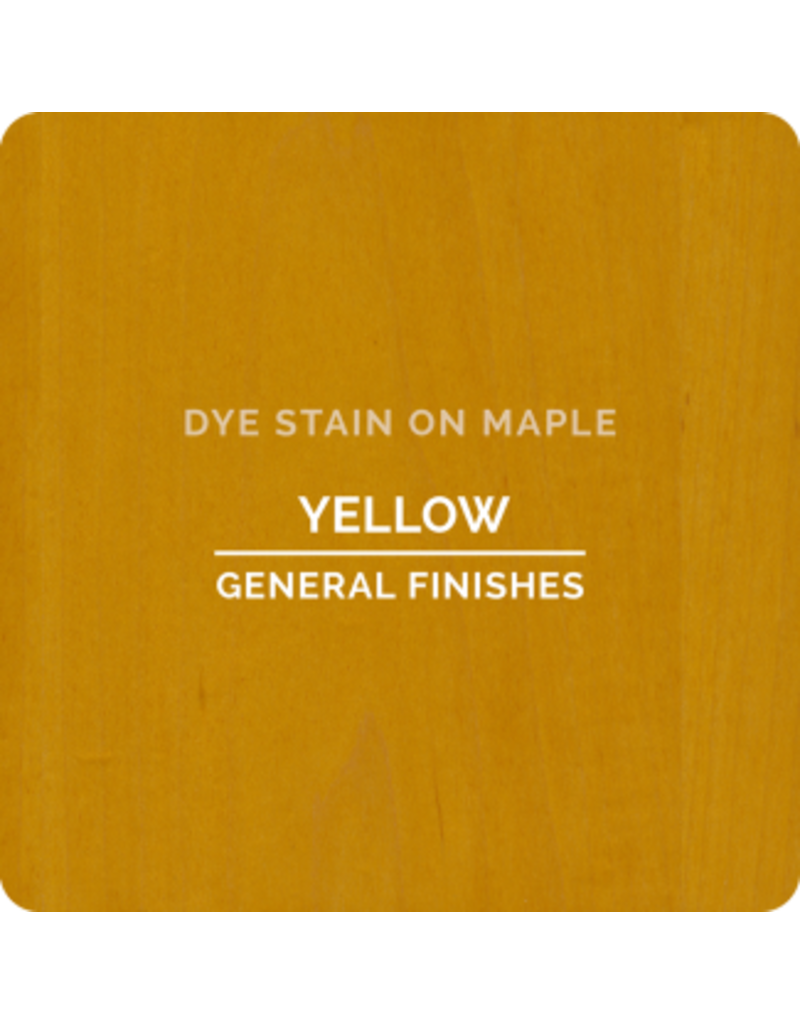
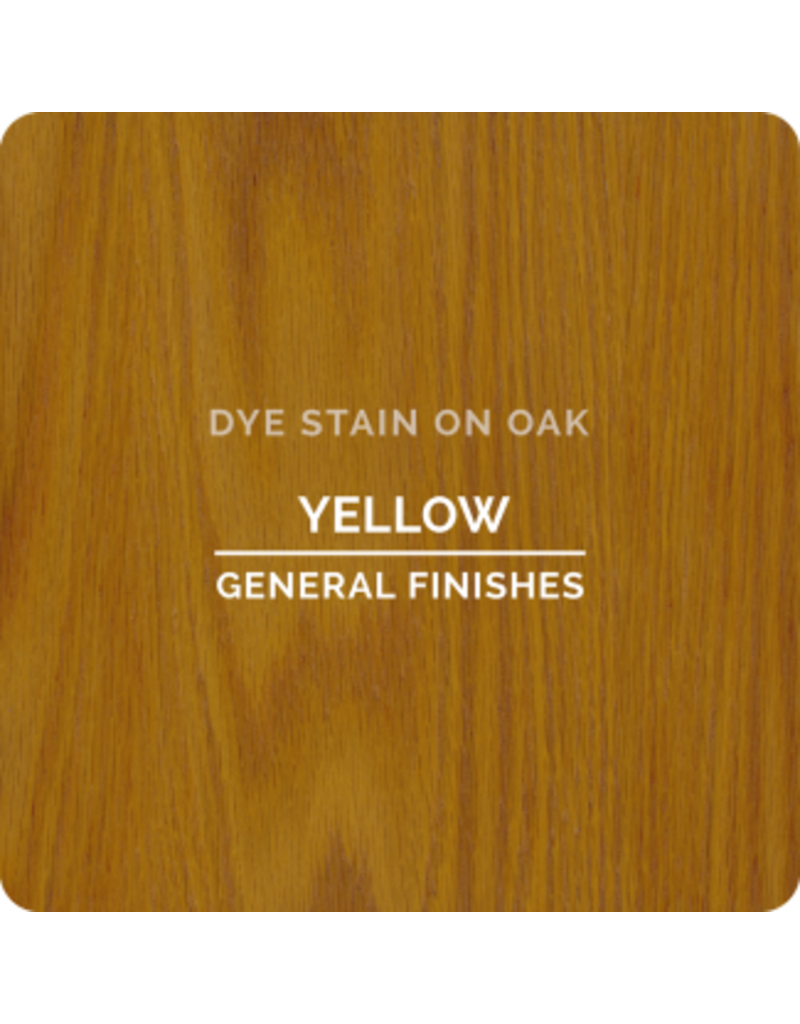
Use Dye Stains to highlight the depth of the grain, to even out color saturation, and to achieve deeper colors under other stain applications. Example: Use Amber or Yellow Dye Stain for a golden glow under General Finishes Gel Stain or General Finishes Water Based Wood Stain.
Toning
Dye Stains can be used as a toner when mixed with water-based topcoat. A 10-20% stain to topcoat ratio is recommended for a slight color change.
Cleanup of Water Based Products
Application tools and materials containing water-based products can be cleaned with soap and water or General Finishes Brush & Gun Cleaner immediately after use.
Product Spills
Spills may be able to be removed from fabric and carpet if cleaned immediately with soap and water.
Disposal
Discard unused product and waste in an environmentally safe manner; check with local fire and health regulation.
TDS