


| Article number: | 841003 |
| Availability: | In stock (12) |
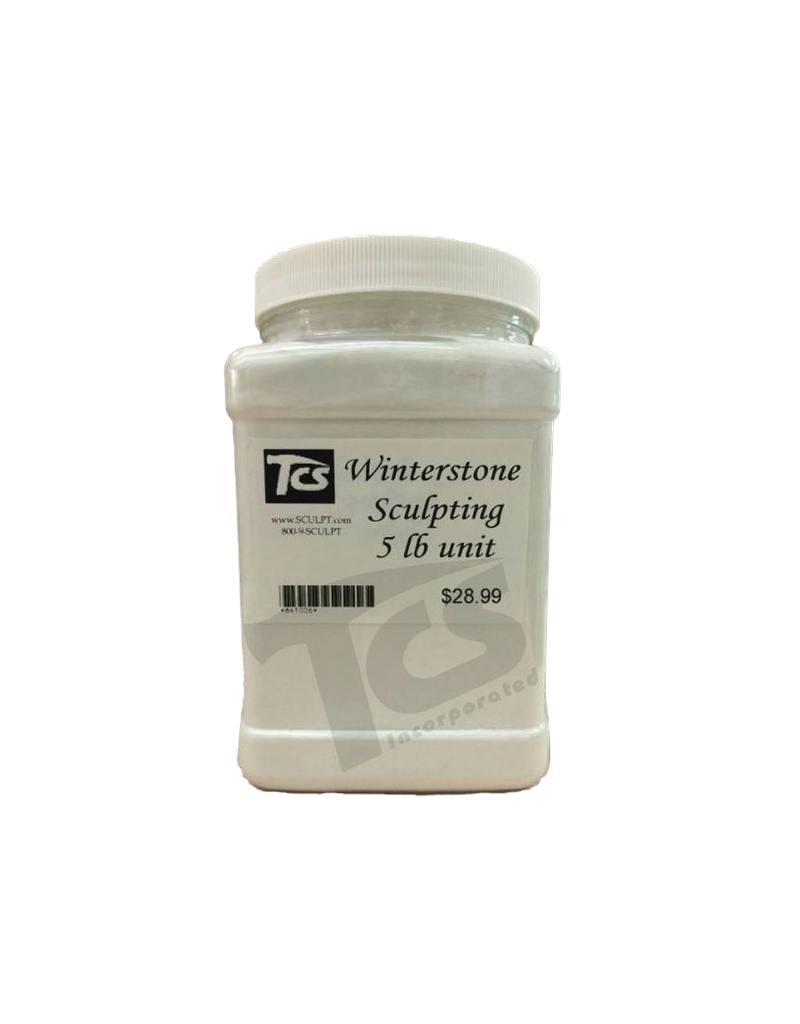
WINTERSTONE is a sculpting medium developed by Sculptor, Lorne P. Winters, for direct modeling of finished sculpture. It works as easily as clay and sets as hard as stone.
WINTERSTONE is a white, dry powder mix --- a complex multi-component cementitious mixture --- which when mixed with the necessary water produces a modeling medium of clay-like consistency. It stiffens and hardens gradually and continuously.
During the initial plastic stage it can be modelled easily with control. As the material hardens the sculptor can proceed with carving techniques. By allowing the sculptor to employ modeling and/or carving techniques when working with WINTERSTONE, the full potential of the material can be developed.
The inclusion of proper reinforcing elements into the material wherever stress is expected, produces a structurally efficient composite material that can be shaped into any complexity of form.
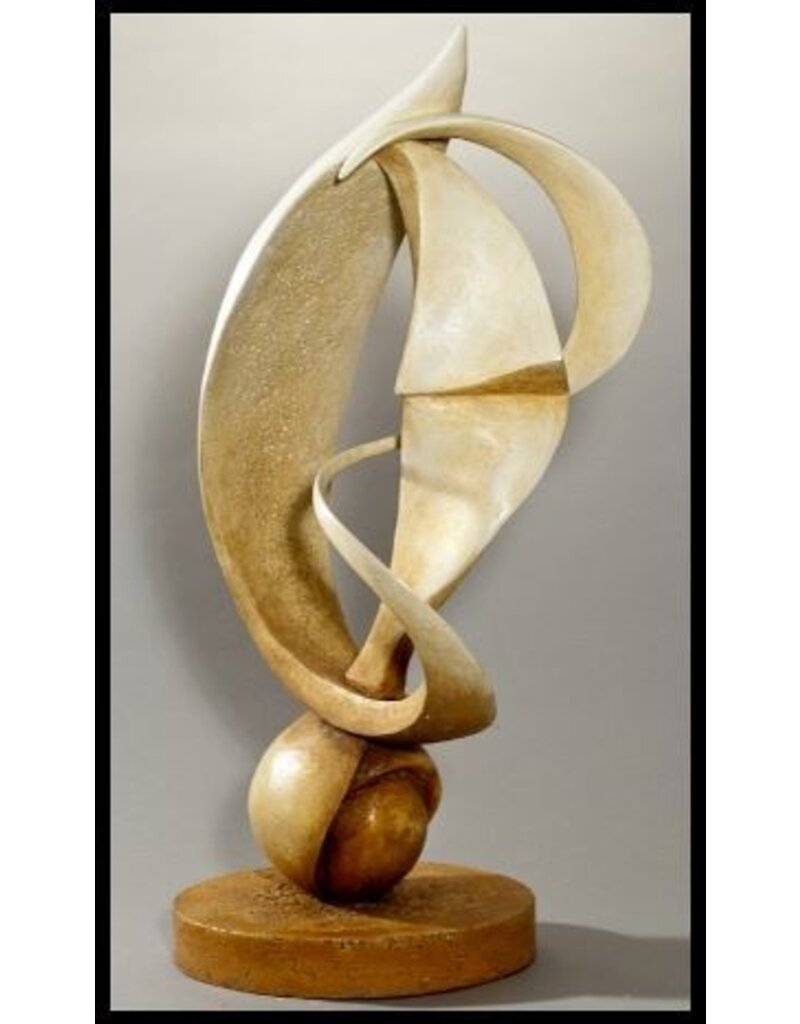
WINTERSTONE can be integrally pigmented or externally patinated.
The hardened WINTERSTONE surface can be refined with abrasives and polished.
The finished WINTERSTONE sculpture is intrinsically weather-stable and may be founded in an outdoor environment. With proper care it can be expected to last many years.
These features of WINTERSTONE -- the flexibility of sculpting techniques, adaptability to varied surface textures and finishes, structural versatility, permanence and stability -- make WINTERSTONE an ideal sculptural material.
PREPARATION
WINTERSTONE (Regular) is supplied as a one part dry mix. It has at least a one year shelf life provided it is kept in a sealed container in a dry place.
WINTERSTONE is easily prepared by mixing in water in the ratio of 23 to 25 parts (by weight) of water to 100 parts (by weight) of dry mix. (This is equivalent to an approximate volumetric measure of 23 to 25 parts of water to 100 parts of loose dry mix. (The dry mix in the supplied package is generally compacted due to shipping and handling and should be fluffed-up into a loose condition before measuring volumetrically)
This range of mixing water allows the sculptor the choice of a stiff putty consistency at the lesser amount (suitable for finger work) to a softer or pastier consistency toward the greater amount (suitable for spatula/trowel tools). The water content should not exceed the upper limit of water recommended. It should be kept in mind that the strongest and most durable end product results from using as little mixing water as possible.
Place the measured amounts of dry mix into a mixing container. Generally, a one quart (litre) plastic container is adequate and can be easily mixed by hand using a spatula. Larger sculptures requiring greater quantities of mix at any one time can be prepared using a 2 gallon pail and an electric mixing tool.
Mix at least 1 minute, then let the mix rest for 1 minute, and then re-mix for at least another 1/2 minute. In any case, the batch of WINTERSTONE should not be greater than can be used within its working time of 40 to 50 minutes. Occasionally re-mixing/re-molding the mixture is helpful in maintaining a workable consistency.
One pound of dry mix produces approximately 19 cu.in. of mixed product.
APPLICATION
Immediately after mixing, the WINTERSTONE mixture may be applied to a prepared steel wire/mesh armature or styrofoam core armature using a spatula, trowel or by hand. If by hand, particularly for those who have sensitive skin, some pre-applied hand cream or use of latex gloves is recommended. A workable consistency may be maintained by occasional re-mixing/re-molding the mixture in the mixing container -- AVOID using additional water.
Open time of the mixture (reasonable workable consistency) will normally be 40 to 50 minutes depending on the amount of water in the mix and on the ambient working conditons. The build-up may be achieved by applying successive layers. As the material is self-bonding it need not be applied wet-on-wet but may be applied on an already hardened surface. It is recommended that the surface be roughened with a serrating tool and dampened with a light mist spray before applying a fresh mixture. Continue building up successive layers of WINTERSTONE using fibreglass or steel mesh where required. The outermost surface thickness should include at least one, and preferably two layers of mesh reinforcing particularly if the sculpture is to be founded outdoors in an area of extreme weather/temperature conditions. Take care to maintain at least 1/8" thickness of WINTERSTONE applied over the top layer of fibremesh. This will provide some thickness for sanding and polishing of the hardened product. It is essential that premature evaporation of water from the surface is avoided. During application and after initial set of the material, if the surface appears to be drying re-wet these areas with a fine water mist/spray. At the end of a working session cover the entire piece with a plastic sheet, and keep it covered for an additional 24 hours.
FINISHING
WINTERSTONE stiffens and hardens gradually and continuously throughout the modeling process. Generally within a few hours of application, depending on the initial water content of the mixture, and the ambient working temperature WINTERSTONE stiffens or sets to the degree that soft carving techniques may be employed.
At this stage soft carving tools and serrated tools or the like are more suitable than standard clay modeling tools. The material will reach its final set within 24 hours although it will continue gaining in strength and hardness over the next few weeks. It is preferable at this time to carve any fine details or to point or serrate surface texture if desired, as the material is hard enough to avoid tearing but not yet so hard that considerable effort or hard carving is required.
Any patching required should be done as soon as possible, be it before or after the final set. The surface of the hardened WINTERSTONE may be patched with some WINTERSTONE which has been freshly mixed in a small batch to a creamy consistency. Roughen the area to be patched with a serrating tool and dampen the area to be patched before applying the mixture.
After 2 to 3 days of air-drying give the piece a light water spray and inspect the surface closely. Ocassionally irregular lines may appear which although invisible to the naked eye when dry, become evident upon wetting and are due to the differential surface absorption along the lines. These lines are very fine shrinkage cracks which are generally the result of the use of excess mixing water and/or inadequate curing. A creamy mixture of the Regular Sculpting Medium should be rubbed well into these areas with a fine sponge and the excess rubbed off. After curing, follow-up with a very light fine sanding before applying any sealers.
Hardened WINTERSTONE surfaces may be sanded or polished using abrasive grit papers or cloths. Many kinds of surface coatings can be applied to WINTERSTONE sculpture with excellent adhesion, including water, oil or solvent based materials. The sculpture must be thoroughly dried if coatings other than water-based materials are applied. In general, after polishing, breathable type coatings or sealers such as water-based acrylics are recommended. Such sealers are clear and colourless and can be had in matte or gloss. Breathable silicone and siloxane penetrating water repellent sealers may be used but once applied generally preclude the application of additional decorative coatings particularly water-based.
PIGMENTATION
WINTERSTONE can be integrally pigmented to brilliant or soft colours. In general, pigments that are suitable for use in cement mortars such as iron oxides (reds, yellows, browns, blacks, terra cottas) can also be used in WINTERSTONE. All pigments added should be pure, dry powders and not liquid dispersions or mixtures with other fillers. In general, do not use more than 5 parts of pigments per 100 parts of dry WINTERSTONE. To check whether a pigment is compatible, try it first in a small test batch of WINTERSTONE. If adding the pigment causes the WINTERSTONE to set either too quickly or too slowly, the pigment is not compatible and should not be used.
WEATHERABILITY
The life span of a WINTERSTONE sculpture placed in an outdoor environment cannot be assigned accurately because WINTERSTONE as we know it is not old enough to provide us with examples of any age. Modern buildings and structures constructed of materials based on present day cement/concrete technology generally have a designed minimum life span of 100 years. It is safe to assume that WINTERSTONE sculpture utilizing similar but more complex and up-to-date technology/materials should last that long. Proper sealing and maintenance optimizes the sculptures outdoor performance.
Extra care and caution should be taken throughout the whole sculpting process for any sculpture which is to be subjected to the climatic rigors of an outdoor environment. All aspects of the process are critical, particularly using minimal mixing water, careful application and consolidation during the build-up, proper embedment of reinforcing mesh, proper and adequate curing, and final surface finishing and sealing.
- Sculpting Mix is a white, dry powder mix which when mixed with water produces a clay-like consistency. Initially it can be modelled easily like clay. As it starts to harden it can be carved with soft carving tools. After 24 hours it can be carved with hard carving tools (i.e., Dremel).
- Sculpting Mix is built up by applying successive layers over an armature (see "instructions" tab for complete details.
- Other than pigments, no other additional fillers (i.e., metallic powders) are required or recommended. If metallic powders are desired, they should be used with Winterstone Ultra Mix only.
- Sculpting Mix should be applied in 1/8" to 1/4" layers up to a final outer "shell" thickness of 3/8" for small pieces, 1/2 to 3/4" for life size and 3/4" to 1" thick for monumental pieces.
- Like any cement-type product it hardens if left still and it stays more workable if agitated. Regularly mixing the batch in the container will keep it more workable longer. Avoid using additional mix water to maintain a workable consistency. This principle applies to all 3 Winterstone products. It is best to mix small batches to avoid waste.
- Unlike clay, you can leave your sculpture for days, (weeks, months, years even!) between layers. It should be dampened with a light spray before applying any fresh layers.
- One pound of dry mix produces approx. 19 cu. in. of hardened end product.
- Generally you mix 4 parts mix to 1 part water. (Technically 22-25 parts water to 100 parts Sculpting Mix by weight or volume). After a short while, you will be able to mix batches intuitively to create the exact consistency you want.
- The strongest and most durable end product results from using as little mixing water as possible.
- Reinforcing techniques complement the inherent strength of Sculpting Mix so your sculpture withstands stresses and abuse. This is especially important for outdoor sculptures which are subject to weather stress and public abuse. The minimum recommended reinforcing for the outer "shell" thickness should be 1 layer of fiberglass mesh ARG (Alkaline Resistant Glass) per 1/4" thickness of "shell" or 1.5% of ARG chopped strand (by weight of dry mix).
- Open working time is 40-50 minutes, so only mix as much as you can use within that time.
- Plastic mixing container (i.e, yogurt, sour cream)
- Spray bottle
- Mixing tool (like a kitchen angled spatula or sandwich spreader)
- Application tool (small kitchen angled spatula or other tool depending on size of work)
- Levelling/serrating tool (flexible serrated "kidney" shape thin metal tool)
- Wooden working base for temporary anchoring of sculpture
- Rubber pad for "damp smoothing" final layer
- You've got an idea in your head of what you want to make. Great! Now turn that idea into a maquette - a sketch or small clay model
- Using the maquette, scale your idea up and determine what type of armature will work best for your project. You can use styrofoam, wire, metallic mesh, and/or metal rods. Build the armature carefully. If it is not well considered (or weakly constructed) it might end up sticking out of your sculpture or your sculpture could crack under stress)
- Mix a small batch of Sculpting Mix and secure the armature to the work surface. Let this cure overnight before adding any more layers.
- The build-up may be achieved by applying successive layers of Sculpting Mix with fiberglass or steel mesh reinforcement between layers as needed.
- It is essential that premature evaporation of water from the surface is avoided. During application if the surface appears to be drying, re-wet these areas with a fine water mist/spray.
- As you are finished a layer it's a good idea to roughen the surface with a serrated tool to create a "tooth" to add additional strength to the next layer's bond. When you are done for the day you can lightly mist the sculpture, cover it loosely with plastic and leave it to cure overnight.
- When you return to add the next layer lightly mist the dry sculpture first. Then add another layer as required.
- For the final surface layer approximately 10 to 20 minutes after application you can damp smooth with a rubber pad or dry sponge pad. This will reduce the amount you'll need to sand to achieve a smooth surface.
- For the final layer ensure there is at least 1/8" of Winterstone applied over the top of the fibreglass mesh. This will eliminate any read-through of the underlying mesh and will provide some thickness for sanding and polishing of the hardened piece.
- If you wish to use soft carving techniques, within a few hours of application, Winterstone sets to the degree that soft carving techniques can be used. Afterwards you can add more Winterstone or finish the sculpture.
- If you wish to use hard carving techniques, after 24 hours you can use a Dremel or similar type of hard caring tool. Again, afterwards you can continue to add more layers if you wish or finish the piece.
- You have finished adding Winterstone and are ready to start to finish the sculpture. As before, at the end of the session loosely cover the sculpture with plastic to keep the moisture in for the initial 24 hours. This is required for critical strength development.
- After 24 hours remove the plastic and let it air dry for an additional 48 hours.
- Rasps and sanding paper can be used as required. Silicone Carbide Sandpapers #120, 180, 220, 320 & 400 are good to use.
- Winterstone gets harder and stronger every day it is left to dry. If you wish to sand or rasp to achieve a super smooth surface, know that the longer you wait the less easily the Winterstone will be sanded away.